In less than an hour you can whip up a batch of these decadent and fudgy Halloween brownies. All you need are some super simple ingredients — and the patience to wait for them to bake so that you can eat them!
What we love about these brownies is that you can get creative by mixing and matching your favorite toppings. Bake these sweet and spooky brownies up for school parties and festive gatherings –. we guarantee they’ll be a hit with everyone!
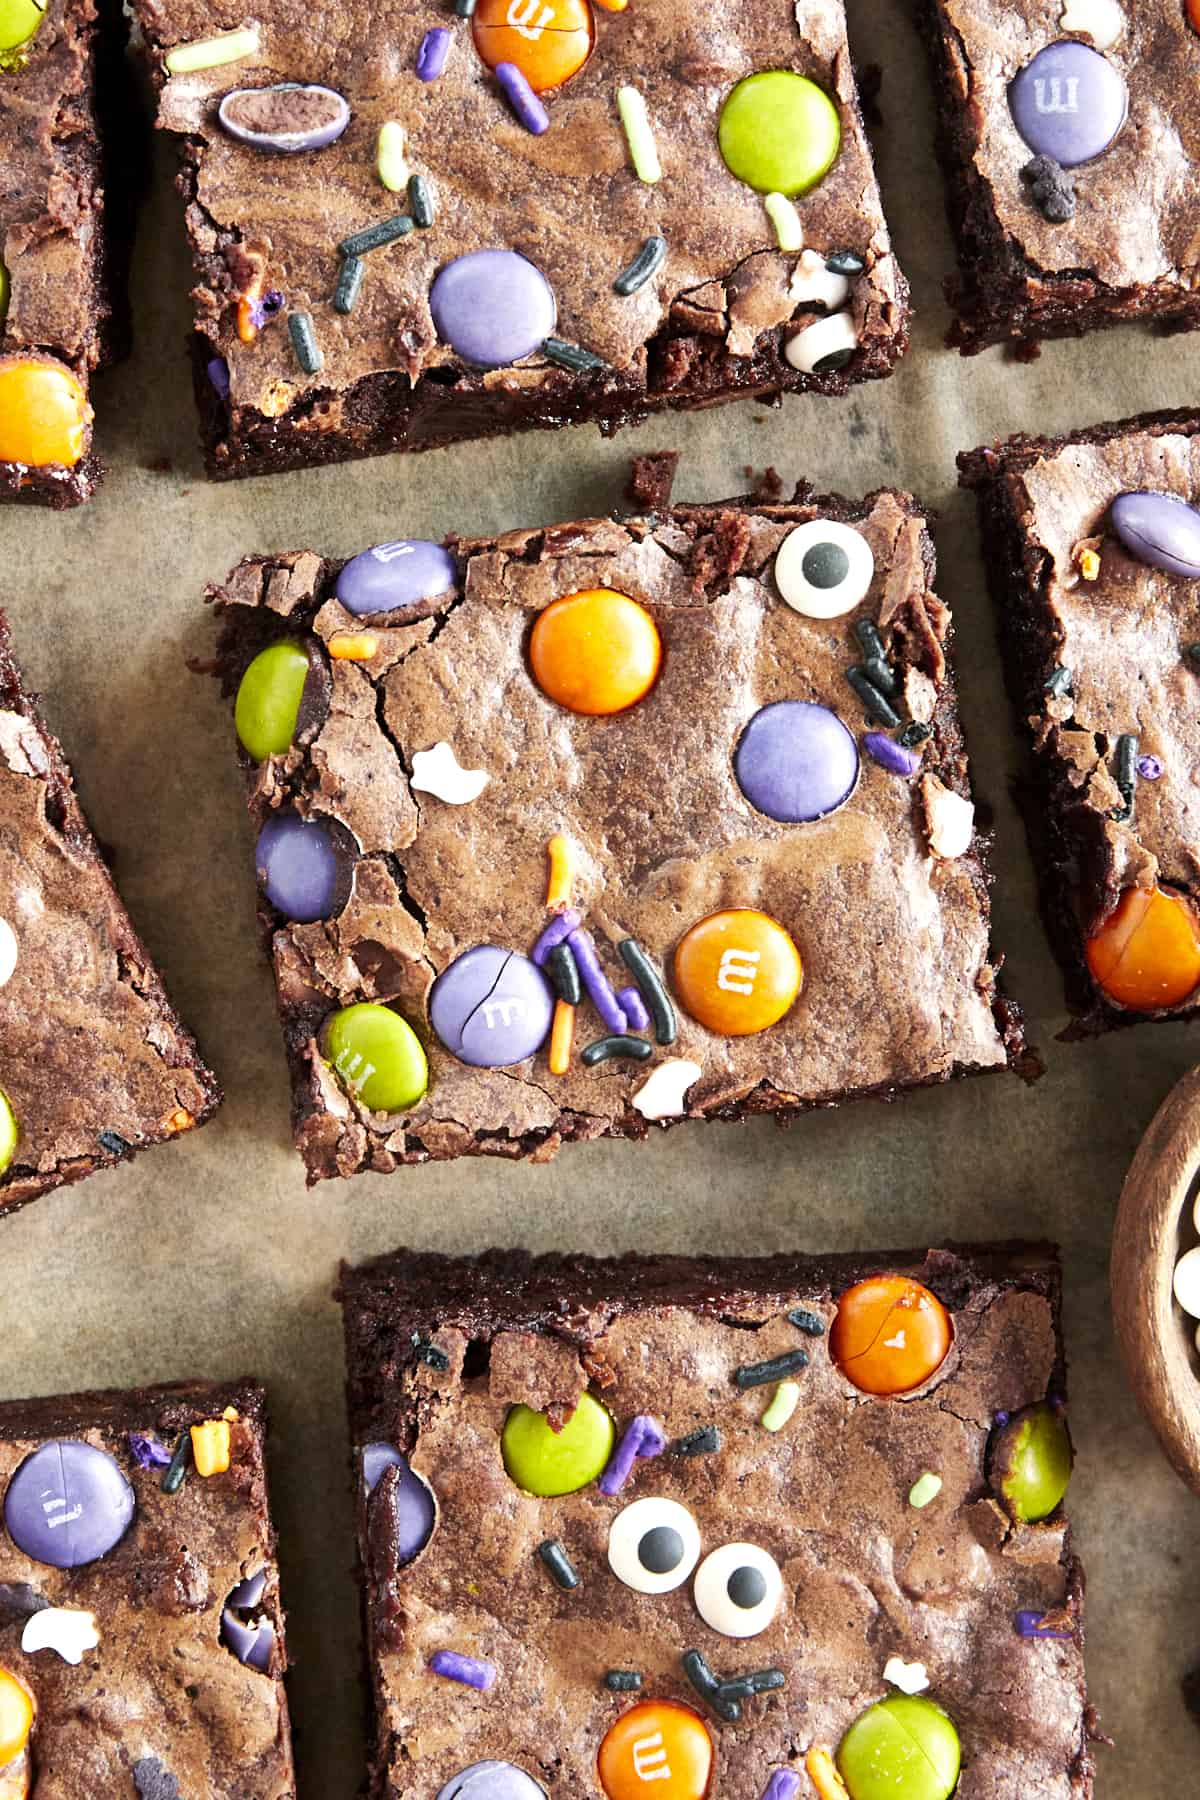
Table of Contents
- From Ghoul to Gourmet: Embrace the Allure of Halloween Brownies!
- Unveiling the Enchanting Ingredients Behind the Best Halloween Brownies!
- Creepy, Crawly, and Delicious: The Ultimate Guide to Making Halloween Brownies
- More Decoration Ideas
- Common Questions About This Halloween Brownies Recipe
- More Halloween Treats Perfect for the Spooky Season
- The Best Halloween Brownies Recipe Recipe
From Ghoul to Gourmet: Embrace the Allure of Halloween Brownies!
Get ready to embark on a spine-tingling culinary adventure with these easy Halloween brownies! As the weather turns colder and Halloween grows nearer, it’s the perfect time to conjure up some wickedly delicious treats that capture the spirit of the season and satisfy your sweet tooth, too.
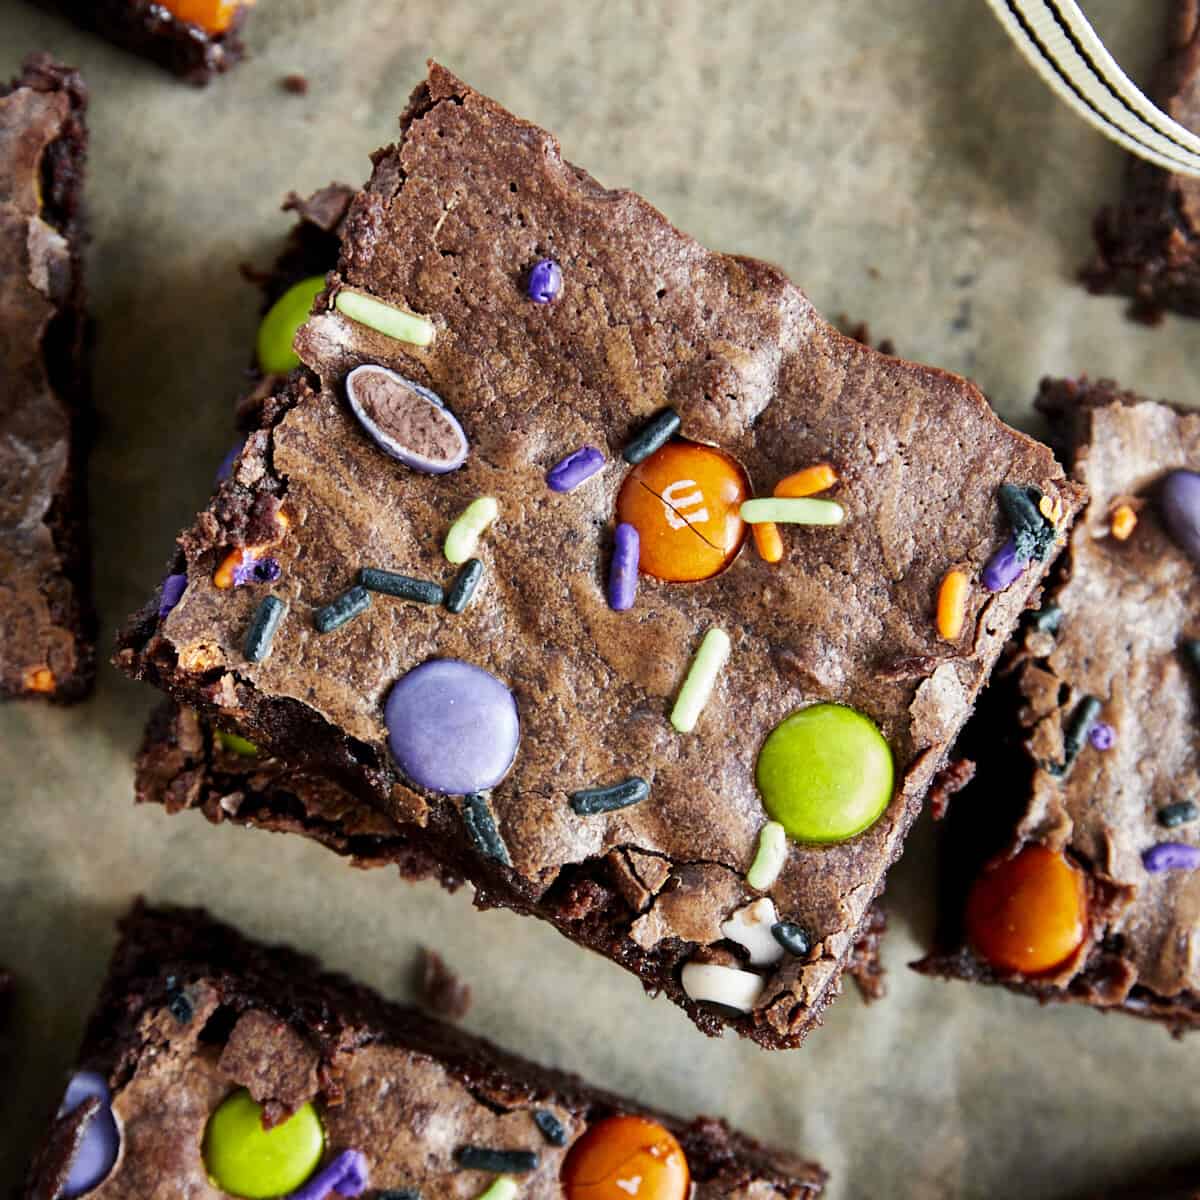
And what better place to start than with Halloween brownies? Inspired by our classic one-bowl brownies with chocolate chips, this recipe is loaded with rich, fudgy flavor. Then, we top it off with festive sprinkles and spooky eyes!
We’ll guide you through the spellbinding process of crafting this delectable dessert, complete with tips, tricks, and a super simple recipe. Whether you’re hosting a haunted bash or simply in need of a treat, these Halloween brownies are perfect for all your October festivities!
Unveiling the Enchanting Ingredients Behind the Best Halloween Brownies!
Just a handful of baking staples are all you need to make this Halloween brownies recipe come to life!
- Granulated Sugar – Regular granulated sugar helps sweeten the batter, eliminating any bitterness from the cocoa.
- All-Purpose Flour – We have not tested this recipe with any alternative flour. However, if needed a 1:1 gluten-free all-purpose flour should work.
- Cocoa Powder – This is crucial to creating the rich, fudgy flavor we look for in brownies!
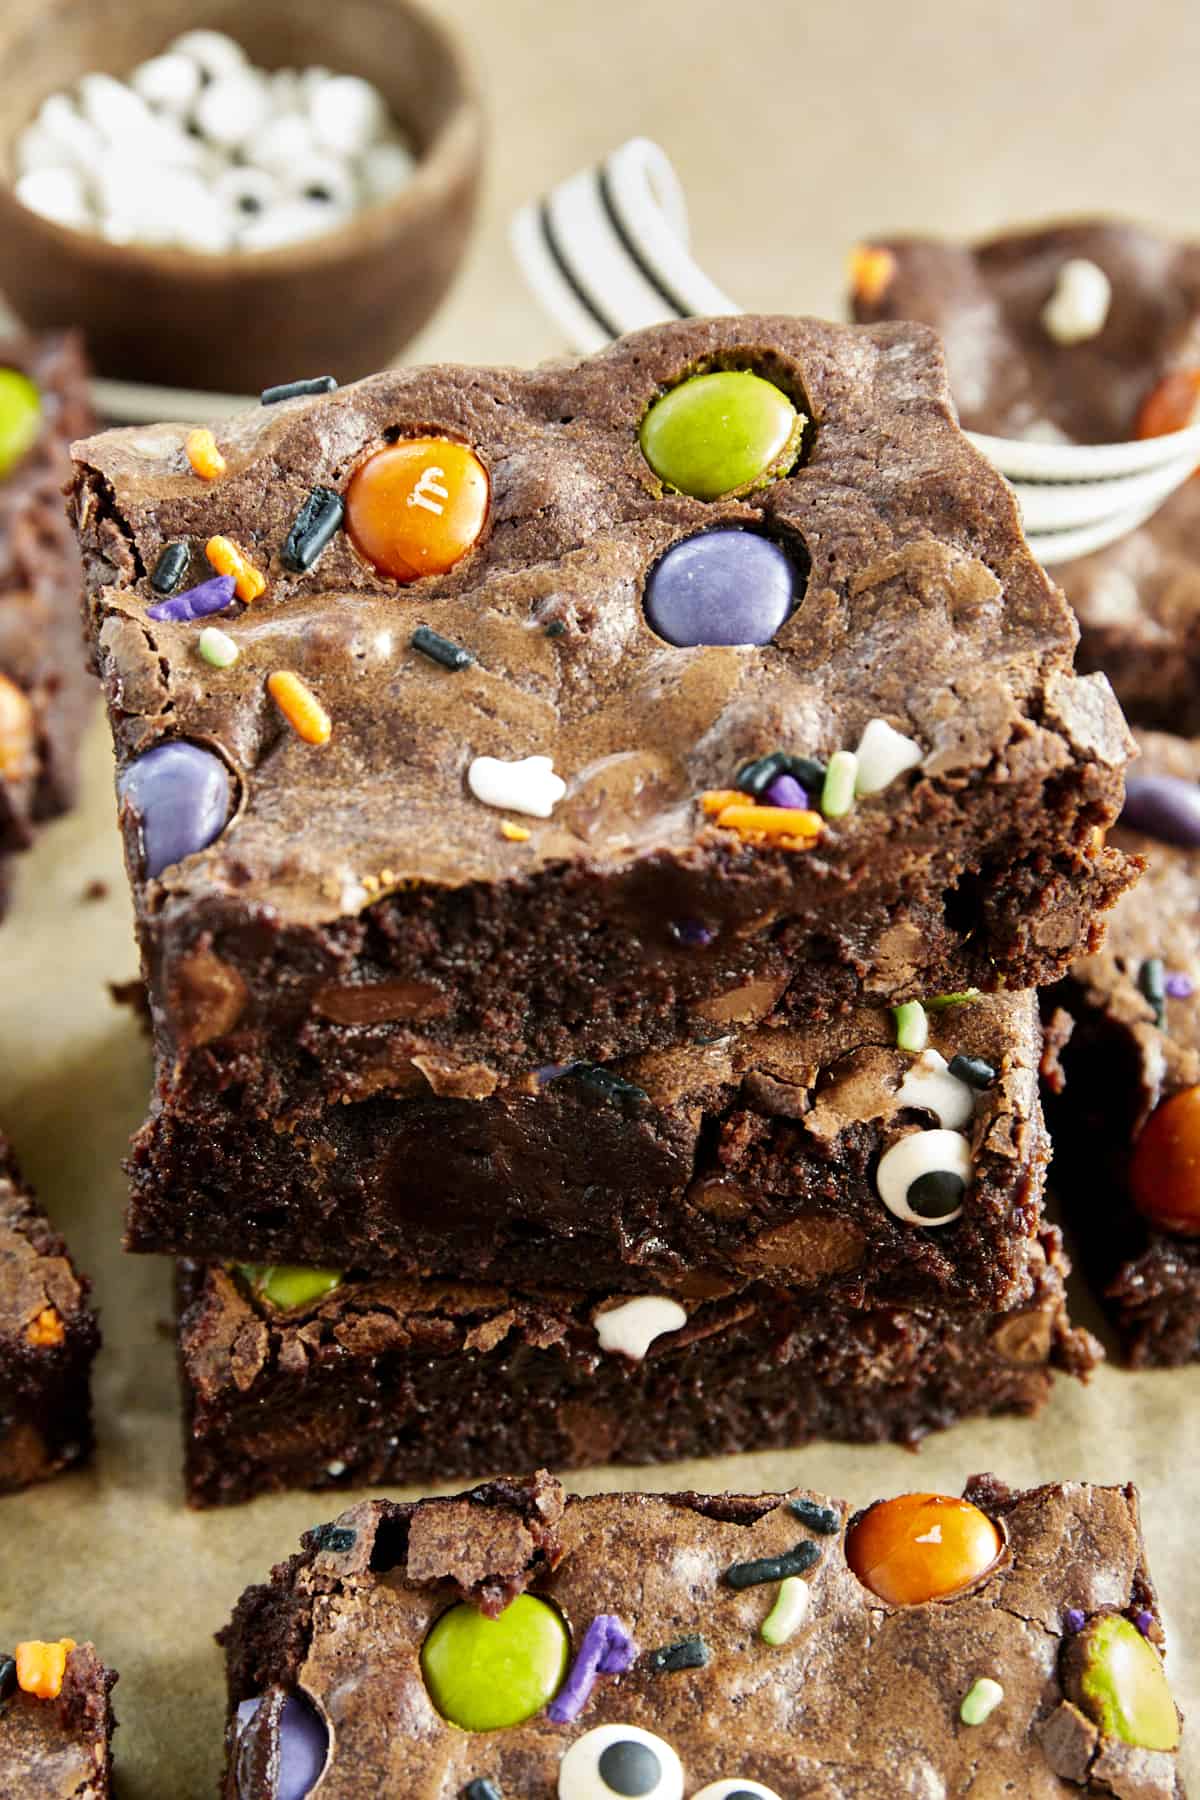
- Cornstarch – This acts as a thickening agent and prevents gluten formation. As a result, it creates dense, moist, fudgy brownies that are absolutely to die for!
- Dark Chocolate Chips – Feel free to substitute semi-sweet or white chocolate chips, if preferred. Dairy-free options also work!
- Sea Salt – Just a sprinkle helps enhance the flavor of the cocoa and the sweet flavor of the batter.
- Large Eggs – These are crucial to create the fudgy consistency and help the brownies hold their shape!
- Butter – This contributes to the taste and texture of the brownies. Unsalted is best! If needed, you can substitute a dairy-free butter.
- Vegetable Oil – When combined with butter, this practically guarantees that your brownies always turn out unbelievably moist and tender.
- Vanilla Extract – Use a high-quality, pure vanilla extract.
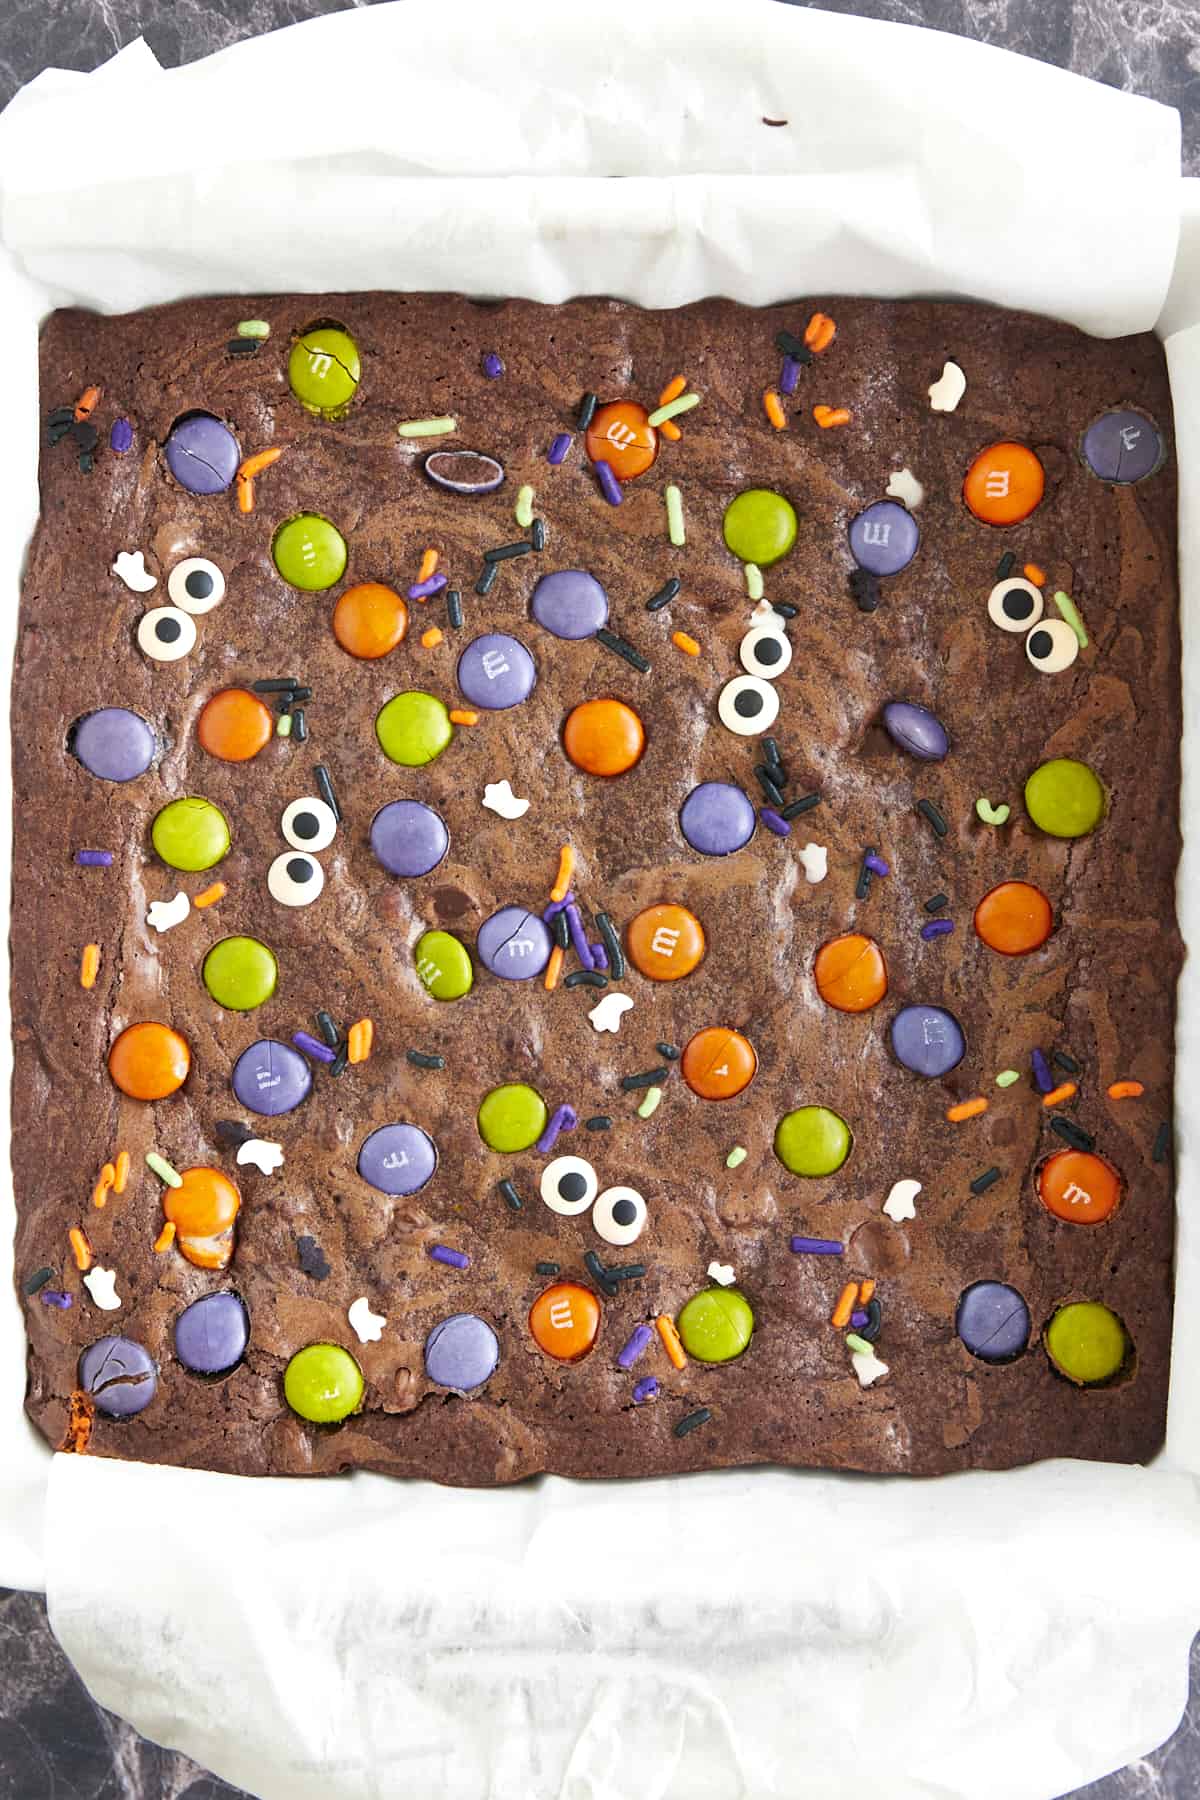
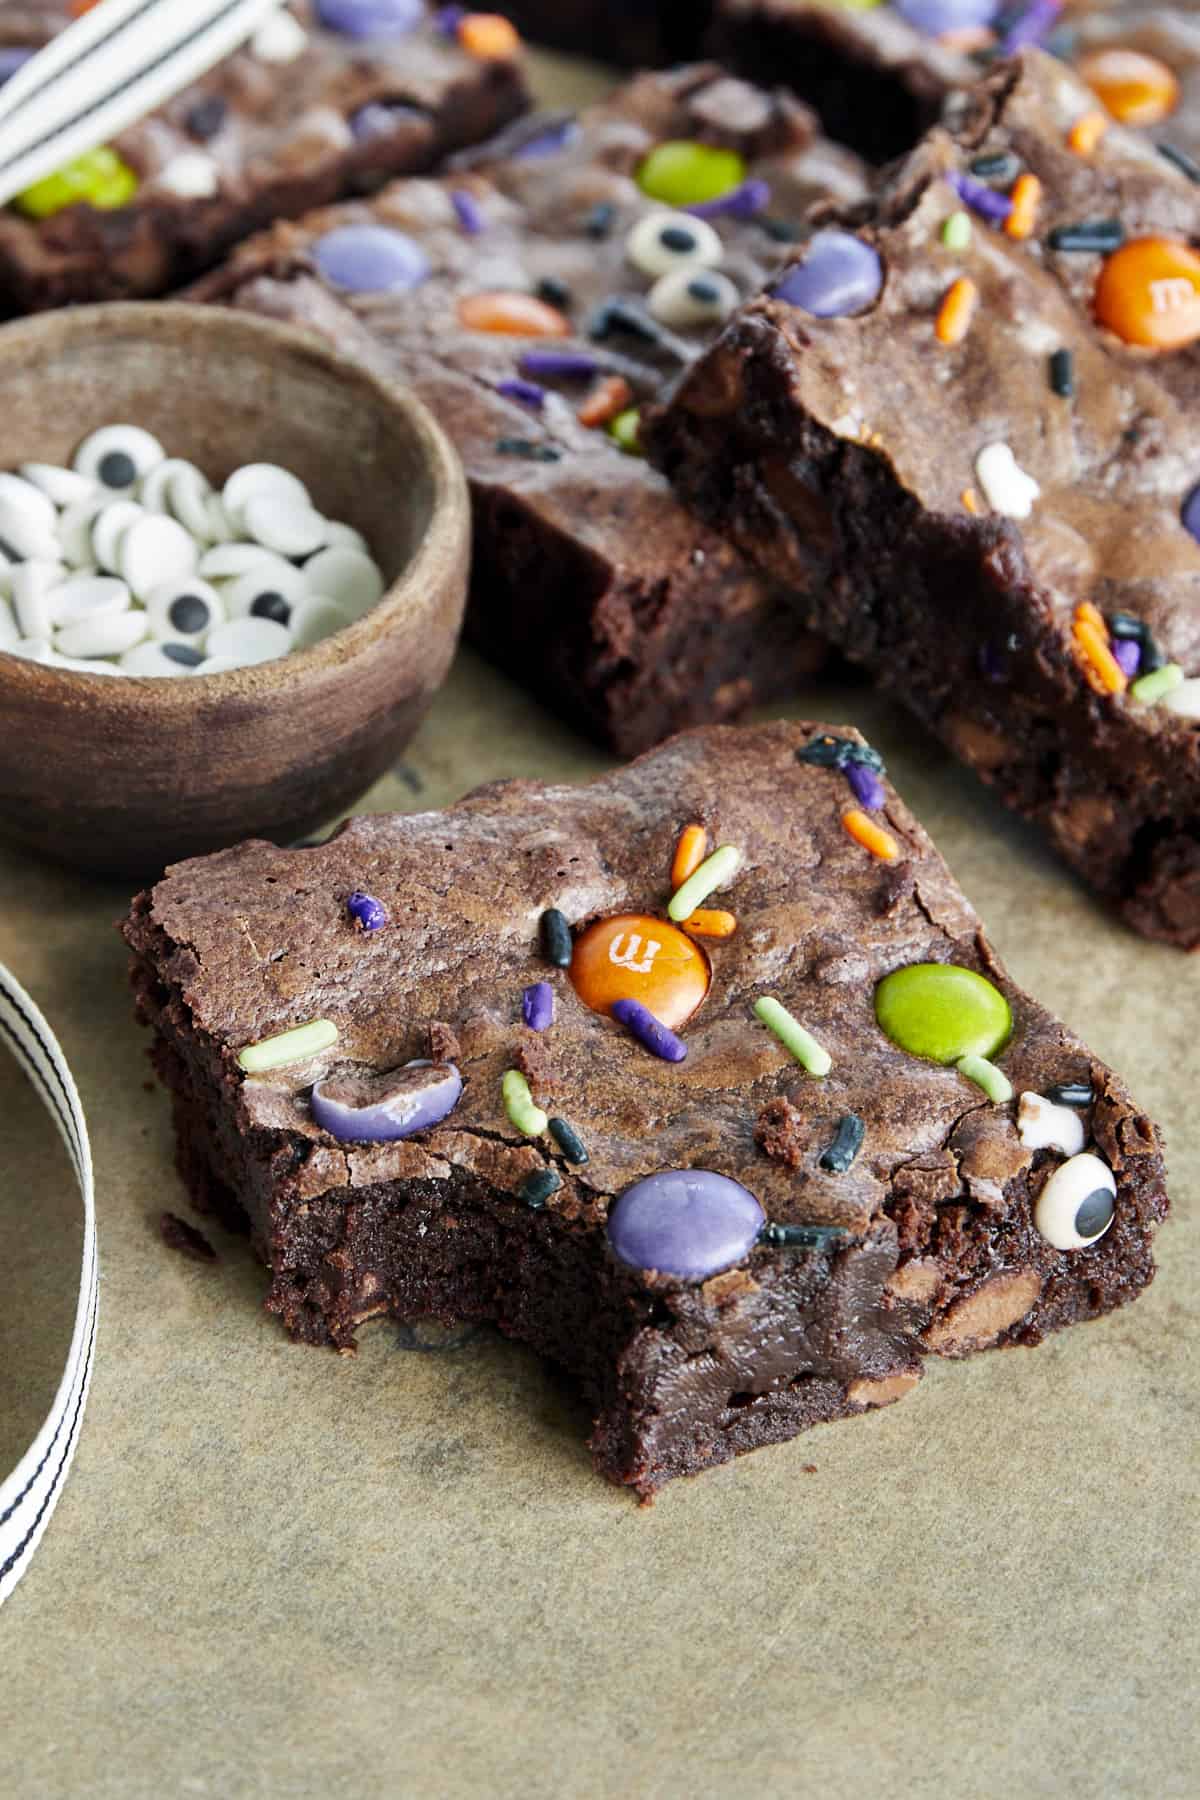
- Toppings – We use M&Ms, sprinkles, and candy eyeballs for festive, spooky faces. Feel free to get creative with any edible toppings and candies you have on hand!
Creepy, Crawly, and Delicious: The Ultimate Guide to Making Halloween Brownies
These brownies might look and taste gourmet, but they’re just as easy to make as your favorite store-bought boxed blend.
- Prepare. Before you begin, preheat your oven, line a baking pan with foil or parchment paper, and grease it with nonstick cooking spray. Make sure you get the corners!
- Melt. In a large microwave-safe bowl, add the butter and sugar, and microwave just until the butter melts. Add the oil, and stir to combine.
- Whisk the wet ingredients. In the same bowl, add the eggs and vanilla, and whisk until smooth.
- Mix the dry ingredients. Sift the flour, cocoa powder, cornstarch, and sea salt into the bowl of wet ingredients. Gently stir just until no streaks remain. Be careful not to overmix!
- Add the chocolate. Gently fold in the chocolate chips.
- Decorate. Spread the brownie batter in an even layer in the prepared pan, and sprinkle your toppings of choice on top.
- Bake. Place the pan in the preheated oven, and bake just until the brownies are set and a cake tester or toothpick can be inserted into the center and comes out clean or with just a few moist crumbs attached. Be super careful not to overbake!
- Cool. Remove the brownies from the oven, and allow them to cool completely in the pan. This step is important! Otherwise, they’ll crumble and fall apart.
More Decoration Ideas
We kept this chocolate brownies recipe pretty simple, using just a few toppings for a bit of festive fun. But feel free to let your imagination run wild!
Mix and match a variety of toppings or draw spooky designs with icing. It’s a fun way to let your little ones get creative!
Some alternative decorating ideas include:
- Topping the brownies with large marshmallows and eyes or frosting to make ghosts.
- Drawing spiderwebs with white icing.
- Adding black sprinkles to make fuzzy monsters or to act as “hair” for faces.
- Adding gravestone sprinkle decorations or pumpkin candy corns.
- Using Oreo cookies to make bat wings.
Common Questions About This Halloween Brownies Recipe
Chewy brownies are known for their dense and moist texture and are most often made with vegetable oil and extra eggs. Meanwhile, cake brownies are made with more leavening agents like baking powder or baking soda to achieve a lighter and fluffier, more like chocolate cake.
Sure! Just follow the package instructions, and add the toppings just before baking.
These brownies are best enjoyed fresh. However, if you want to prepare ahead of time or have leftovers, they can be transferred to an airtight container and stored in the fridge for up to two to three days.
Yes! Wrap each brownie in plastic wrap, transfer them to a sealable bag, and keep them frozen for up to three months.
Yes, double the ingredients, use a 9×13 baking dish, and adjust the baking time as needed.
More Halloween Treats Perfect for the Spooky Season
Looking to make your Halloween celebrations even more festive? Explore these irresistible recipes for crowd-pleasing treats that will add a spooky flair to your gatherings!
- Halloween Crack Candy
- The Best Halloween Snack Mix
- Caramel Apple Bark with Pretzels
- Homemade Caramel Popcorn Recipe
The Best Halloween Brownies Recipe
Ingredients
- 1/2 cup (1 stick) unsalted butter
- 1 1/4 cups granulated sugar
- 1/3 cup vegetable oil
- 3 large eggs
- 2 teaspoons vanilla extract
- 3/4 cup all-purpose flour
- 3/4 cup cocoa powder sifted if lumpy
- 1 Tablespoon cornstarch
- 3/4 cup dark chocolate chips
- 3/4 teaspoon sea salt
- Topping: Halloween mms sprinkles, and candy eyeballs
Instructions
- Preheat the oven to 325 degrees F (163 degrees Celsius). Line an 8×8-inch baking pan with foil or parchment paper and spray it with nonstick cooking spray.
- In a microwave-safe bowl, combine the 1/2 cup of butter and 1 1/4 cups of granulated sugar. Microwave for about 1 minute, or until the butter is melted. Add oil and Stir until the mixture is well combined.1/2 cup (1 stick) unsalted butter, 1 1/4 cups granulated sugar, 1/3 cup vegetable oil
- Whisk in the 3 large eggs and the 2 teaspoons of vanilla extract until the mixture is smooth.3 large eggs, 2 teaspoons vanilla extract
- Sift in 3/4 cup of all-purpose flour, cocoa powder, 1 tablespoon of cornstarch, and sea salt. Stir just until the dry ingredients are fully incorporated, do not overmix.3/4 cup all-purpose flour, 3/4 cup cocoa powder, 1 Tablespoon cornstarch, 3/4 teaspoon sea salt
- Gently fold in the 3/4 cup of dark chocolate chips.3/4 cup dark chocolate chips
- Spread the brownie batter evenly into the prepared pan.
- Top with halloween MMS, and sprinkles. Top with the candy eyeballs.Topping: Halloween mms
- Place the pan in the preheated oven and bake for 30 minutes, or until the brownies are set and a cake tester inserted into the center comes out with moist crumbs attached. Be careful not to overcook.
- Once done, remove the brownies from the oven and allow them to cool completely in the pan. Must cool completely!
- Store in an airtight container in the fridge for up to 2-3 days.
Equipment
Would you like to save this? 🔖
Nutrition
Nutrition information is automatically calculated, so should only be used as an approximation.

