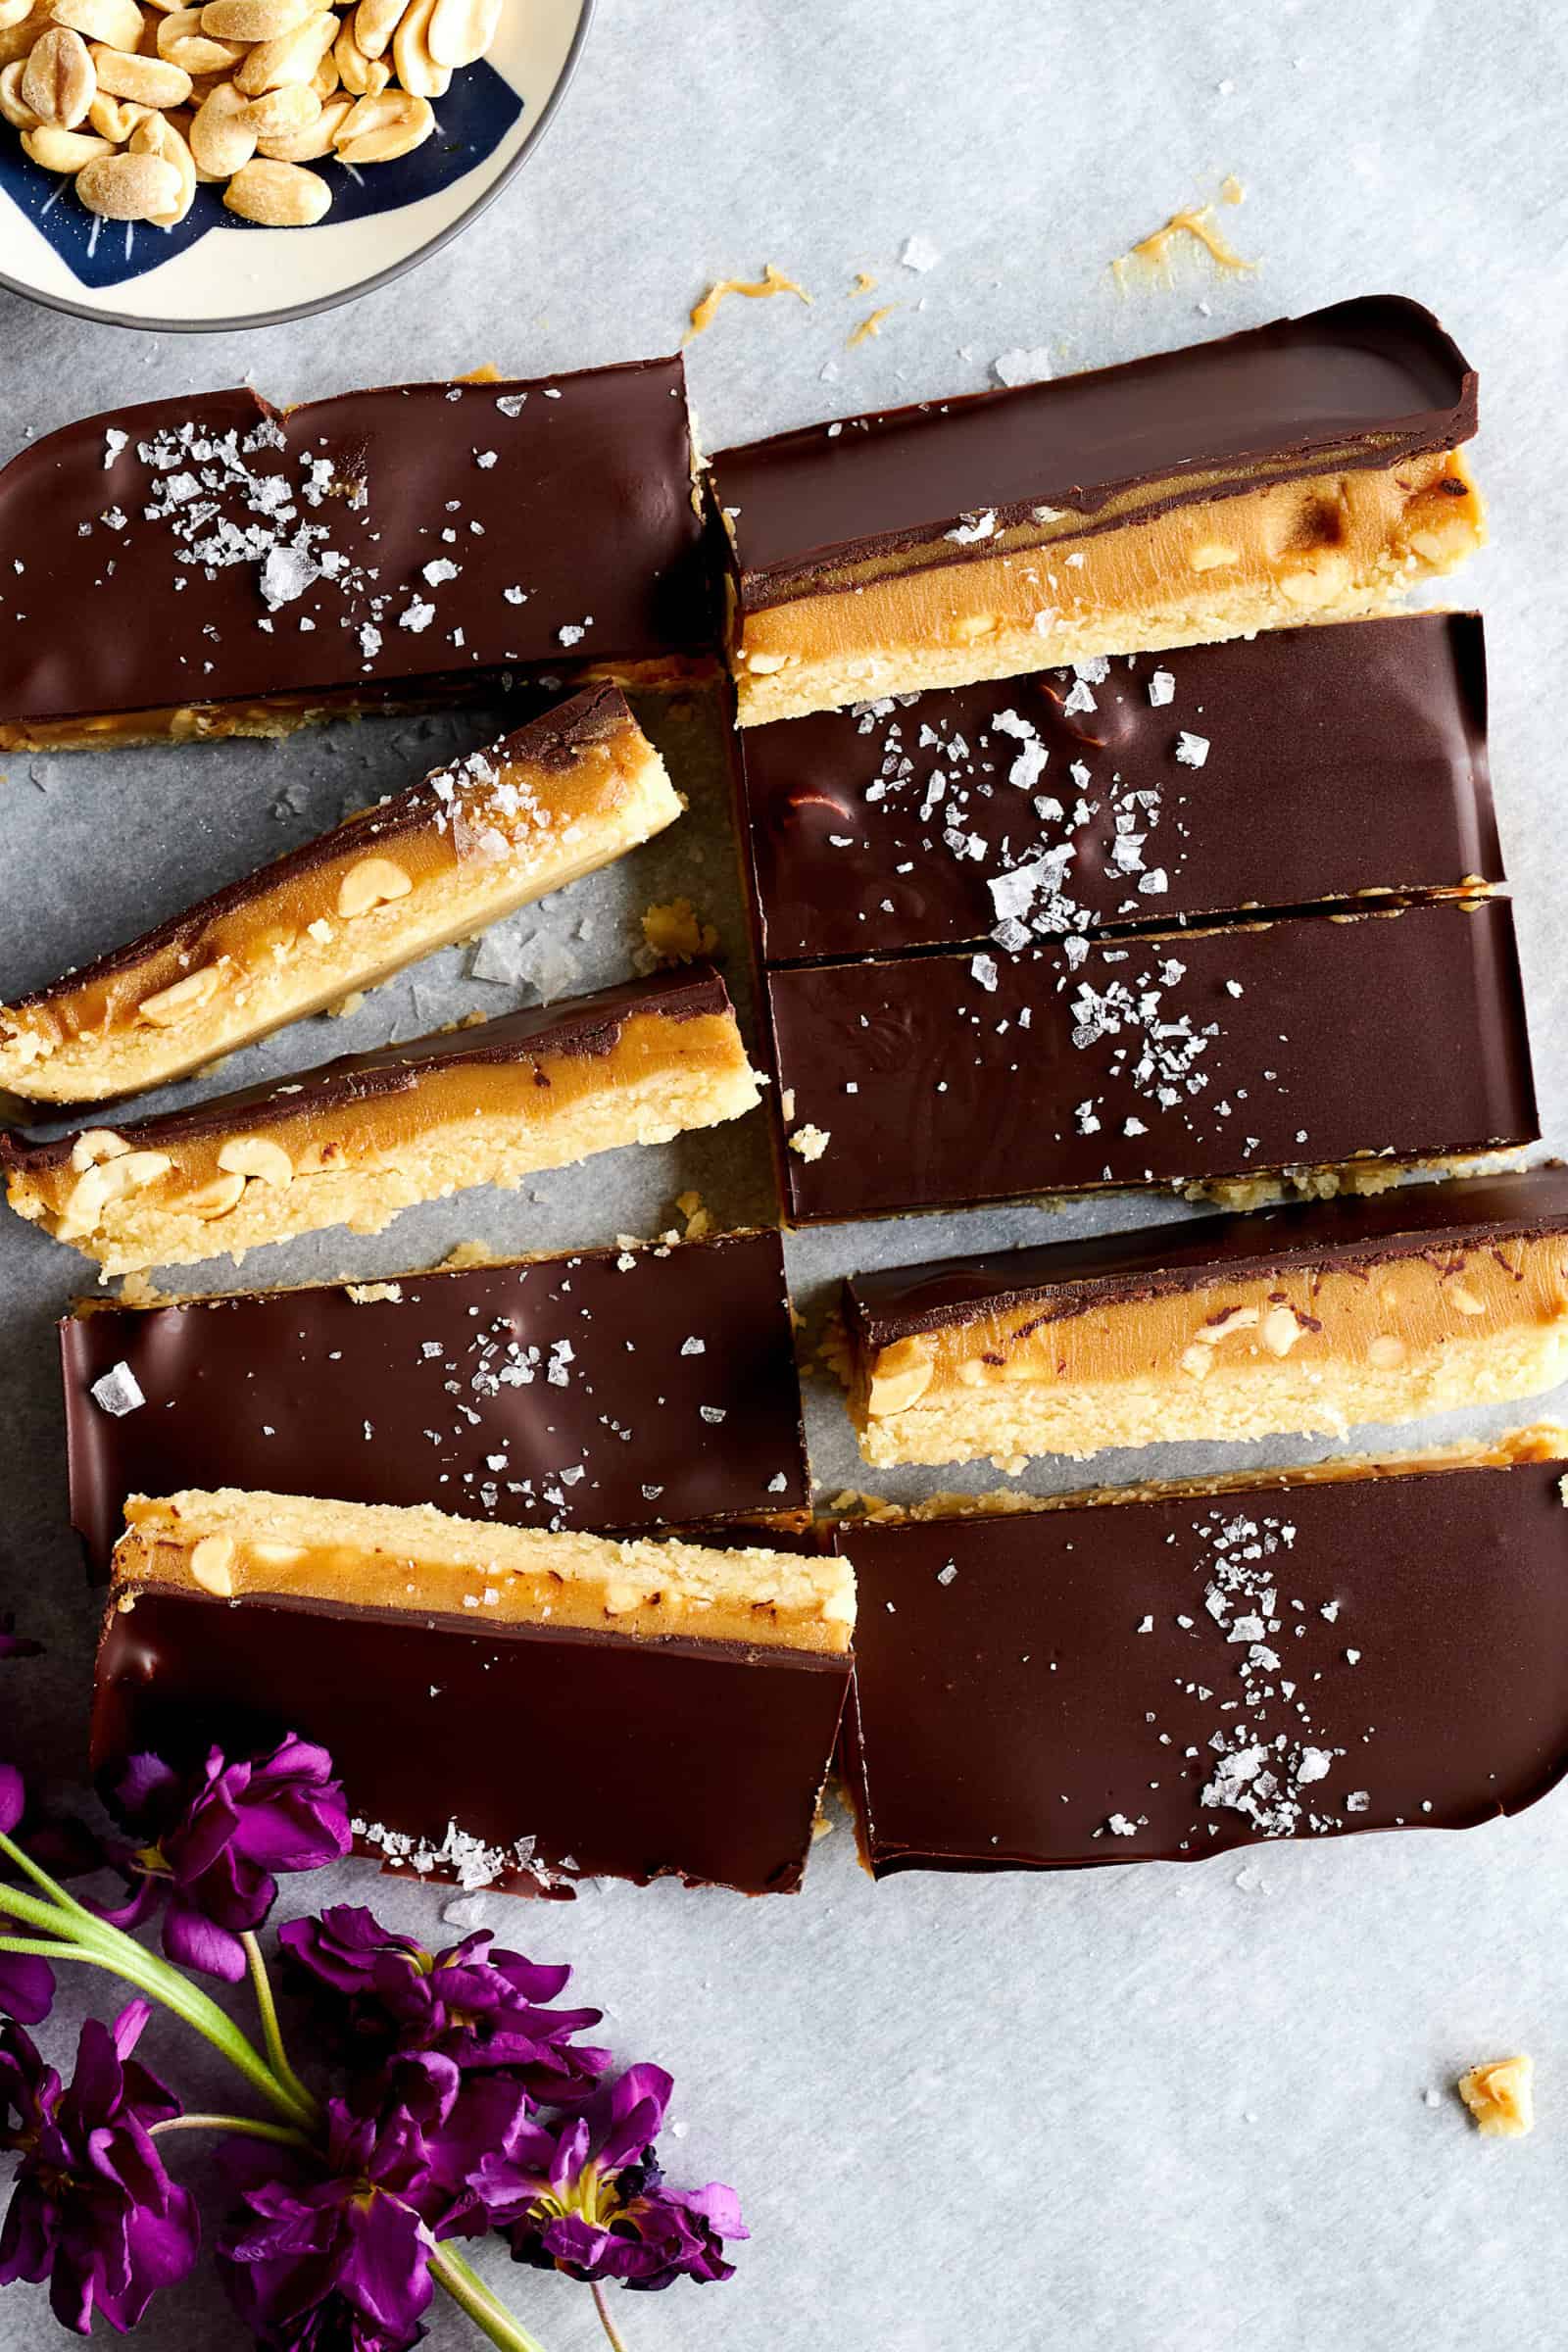
These absolutely irresistible Chocolate Peanut Butter Bars start with a sweet shortbread layer, followed by a rich and creamy peanut butter filling, topped with chopped peanuts, and finished off with a decadent chocolate topping. The combination of sweet, nutty flavors with a hint of salt creates a homemade Snickers bar experience that will make you forget about the store-bought version for good!
Not only are these bars incredibly delicious, but they’re also healthier than their commercial counterparts since they’re made with wholesome ingredients you can trust. Say goodbye to store-bought snacks and hello to this deliciousness that is bound to become a favorite at your house!
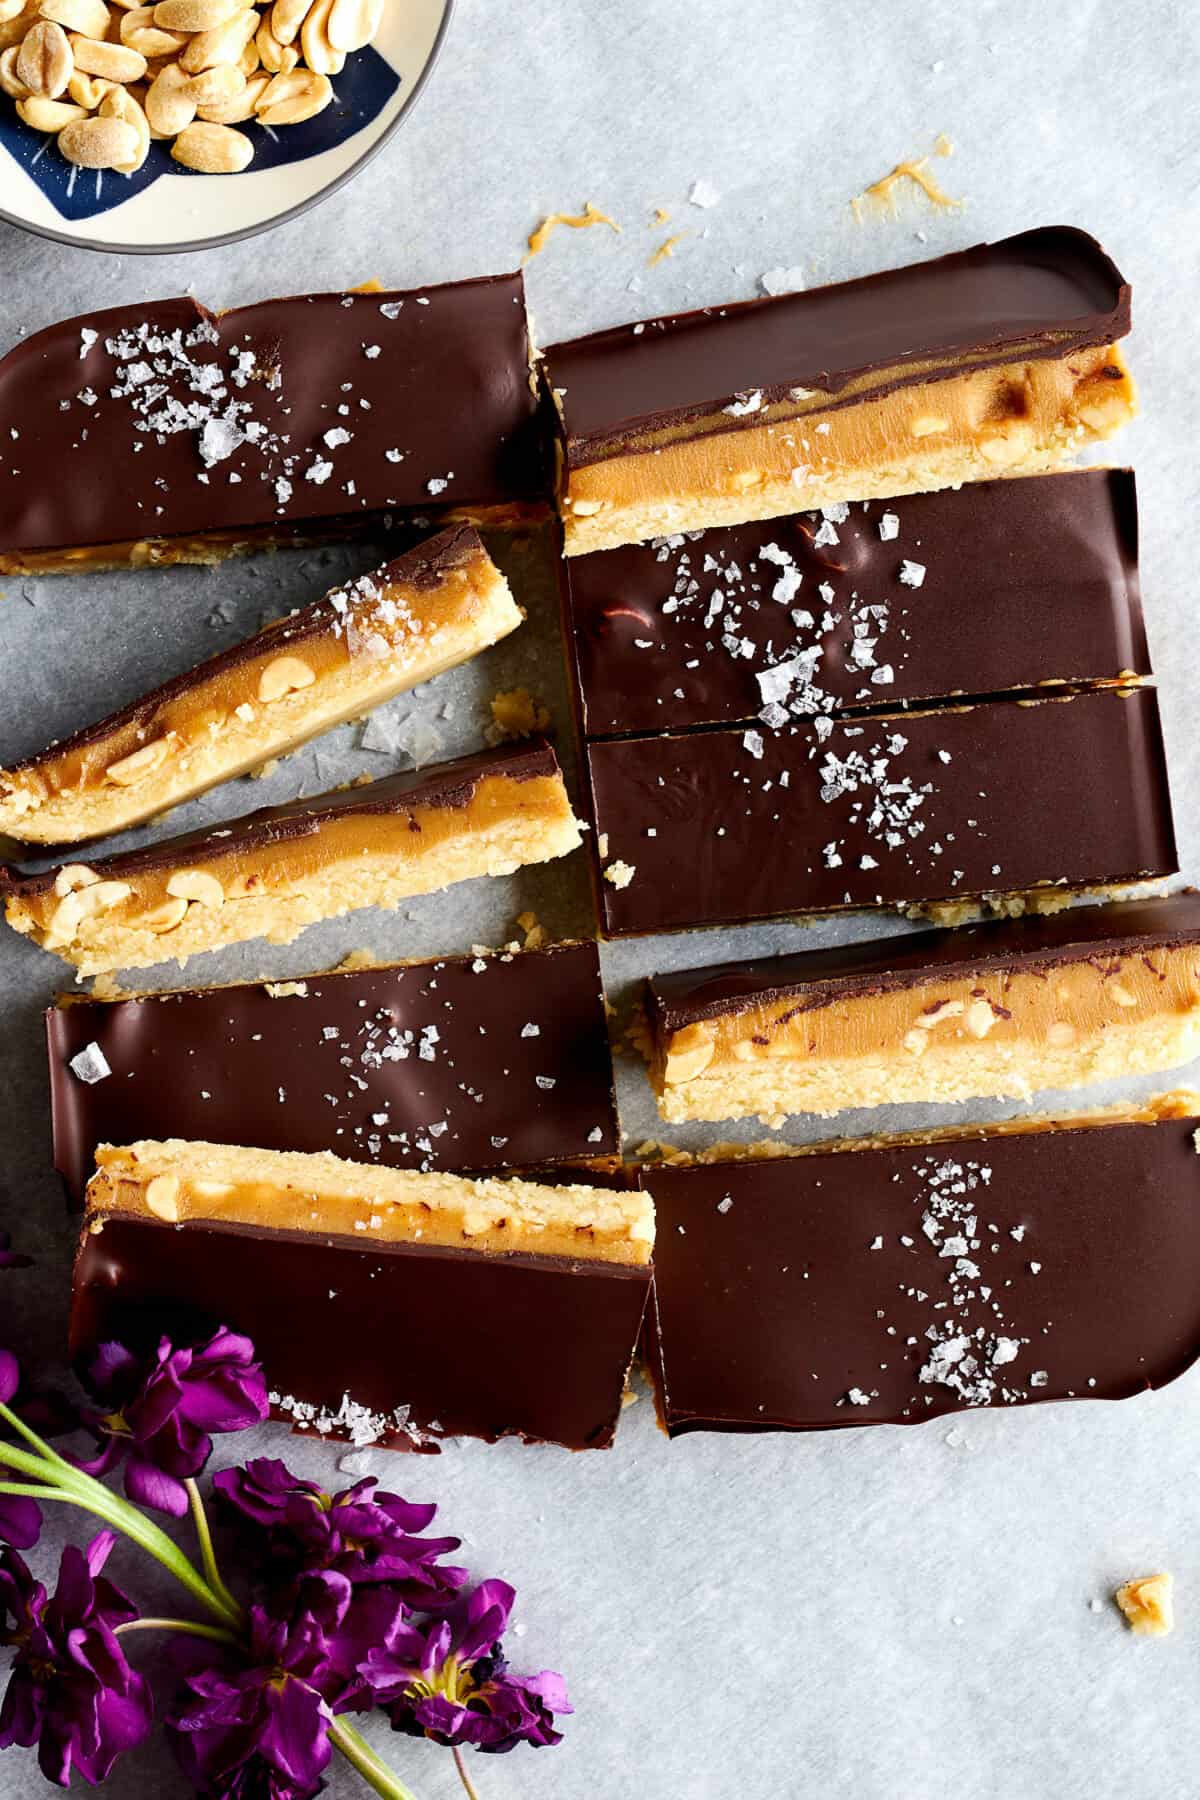
Table of Contents
- Your Favorite Candy Bar Made Better!
- What’s In a Homemade Snickers Bar?
- Can I Make This Recipe Without Peanut Butter?
- How to Make Chocolate Peanut Butter Bars So Good You’ll Never Go Back to Store-Bought Again
- Tips and Tricks
- Common Questions About This Homemade Chocolate Peanut Butter Bars Recipe
- More Homemade Treat Recipes
- Chocolate Peanut Butter Bars (Homemade Snickers) Recipe
Your Favorite Candy Bar Made Better!
Who doesn’t love a Snickers bar? They’re one of our favorite candy bars of all time.
Seriously, we could eat them every day. Unfortunately, that’s not exactly great for our health or waistline.
So, we decided to take matters into our own hands and make homemade chocolate peanut butter bars instead! Naturally gluten-free, refined sugar-free, and dairy-free, too, they taste just like Snickers but are a lot healthier.
Now you can have your dessert and eat it, too!
What’s In a Homemade Snickers Bar?
- Almond Flour – This forms the “shortbread” base, creating a subtly sweet cookie-like flavor with a boost of fiber and healthy fats! You can make your own almond flour by grinding almonds, but we like to save time and use store-bought almond flour like Bob’s Red Mill.
- Coconut Oil – This is used in every layer to combine the ingredients, creating smooth layers with rich flavor.
- Maple Syrup – Used as a natural sweetener, maple syrup eliminates the need for refined sugar. Honey will also work.
- Vanilla Extract – Use high-quality pure vanilla extract to enhance the sweet, nutty flavors. Trust us, you can taste a difference!
- Salt – Just a pinch enhances the taste of the bars.
- Peanut Butter – Use creamy peanut butter, not chunky. Also, avoid natural varieties as they tend to separate and can cause the bars to become oil. Brands like Jif and Skippy are best!
- Peanuts – You can’t have homemade Snickers without peanuts! Roasted, salted varieties are best.
- Chocolate Chips – We recommend using semi-sweet chocolate chips, but dark chocolate will also work. If needed, opt for dairy-free or vegan varieties.
Can I Make This Recipe Without Peanut Butter?
Sure! It won’t be an exact healthy Snickers bar dupe, as the flavor and texture will change slightly, but the recipe will still be tasty.
Feel free to swap out the peanut butter with any other creamy nut or seed butter you like best. Almond butter, cashew butter, or sunflower seed butter would all work great.
How to Make Chocolate Peanut Butter Bars So Good You’ll Never Go Back to Store-Bought Again
- Prepare. Before you begin, preheat your oven, and line a square baking dish with
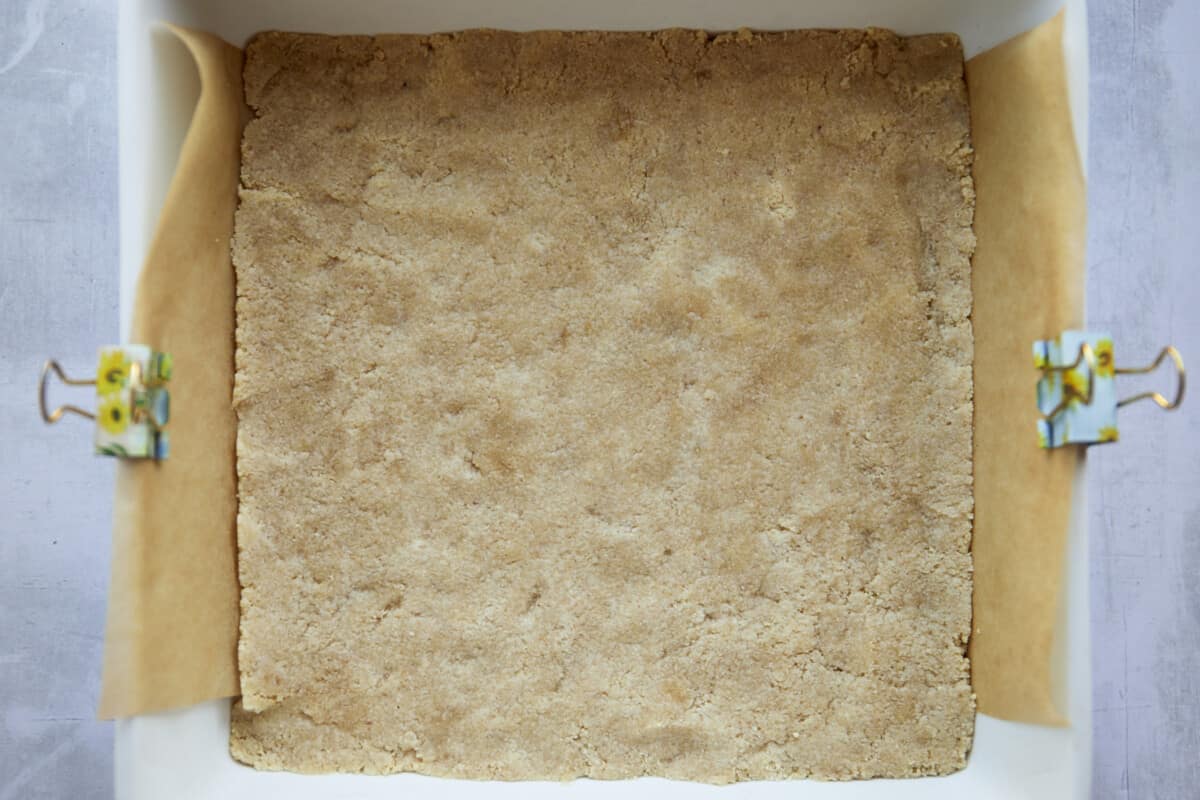
parchment paper . - Create the shortbread base. In a medium-sized bowl, combine all the ingredients for the shortbread layer, mixing until the mixture is well combined, thick, and crumbly.
- Bake. Transfer the mixture to the prepared pan, and use your fingers to press it down tightly. Bake just until the base is lightly golden, and set it aside to cool before continuing.
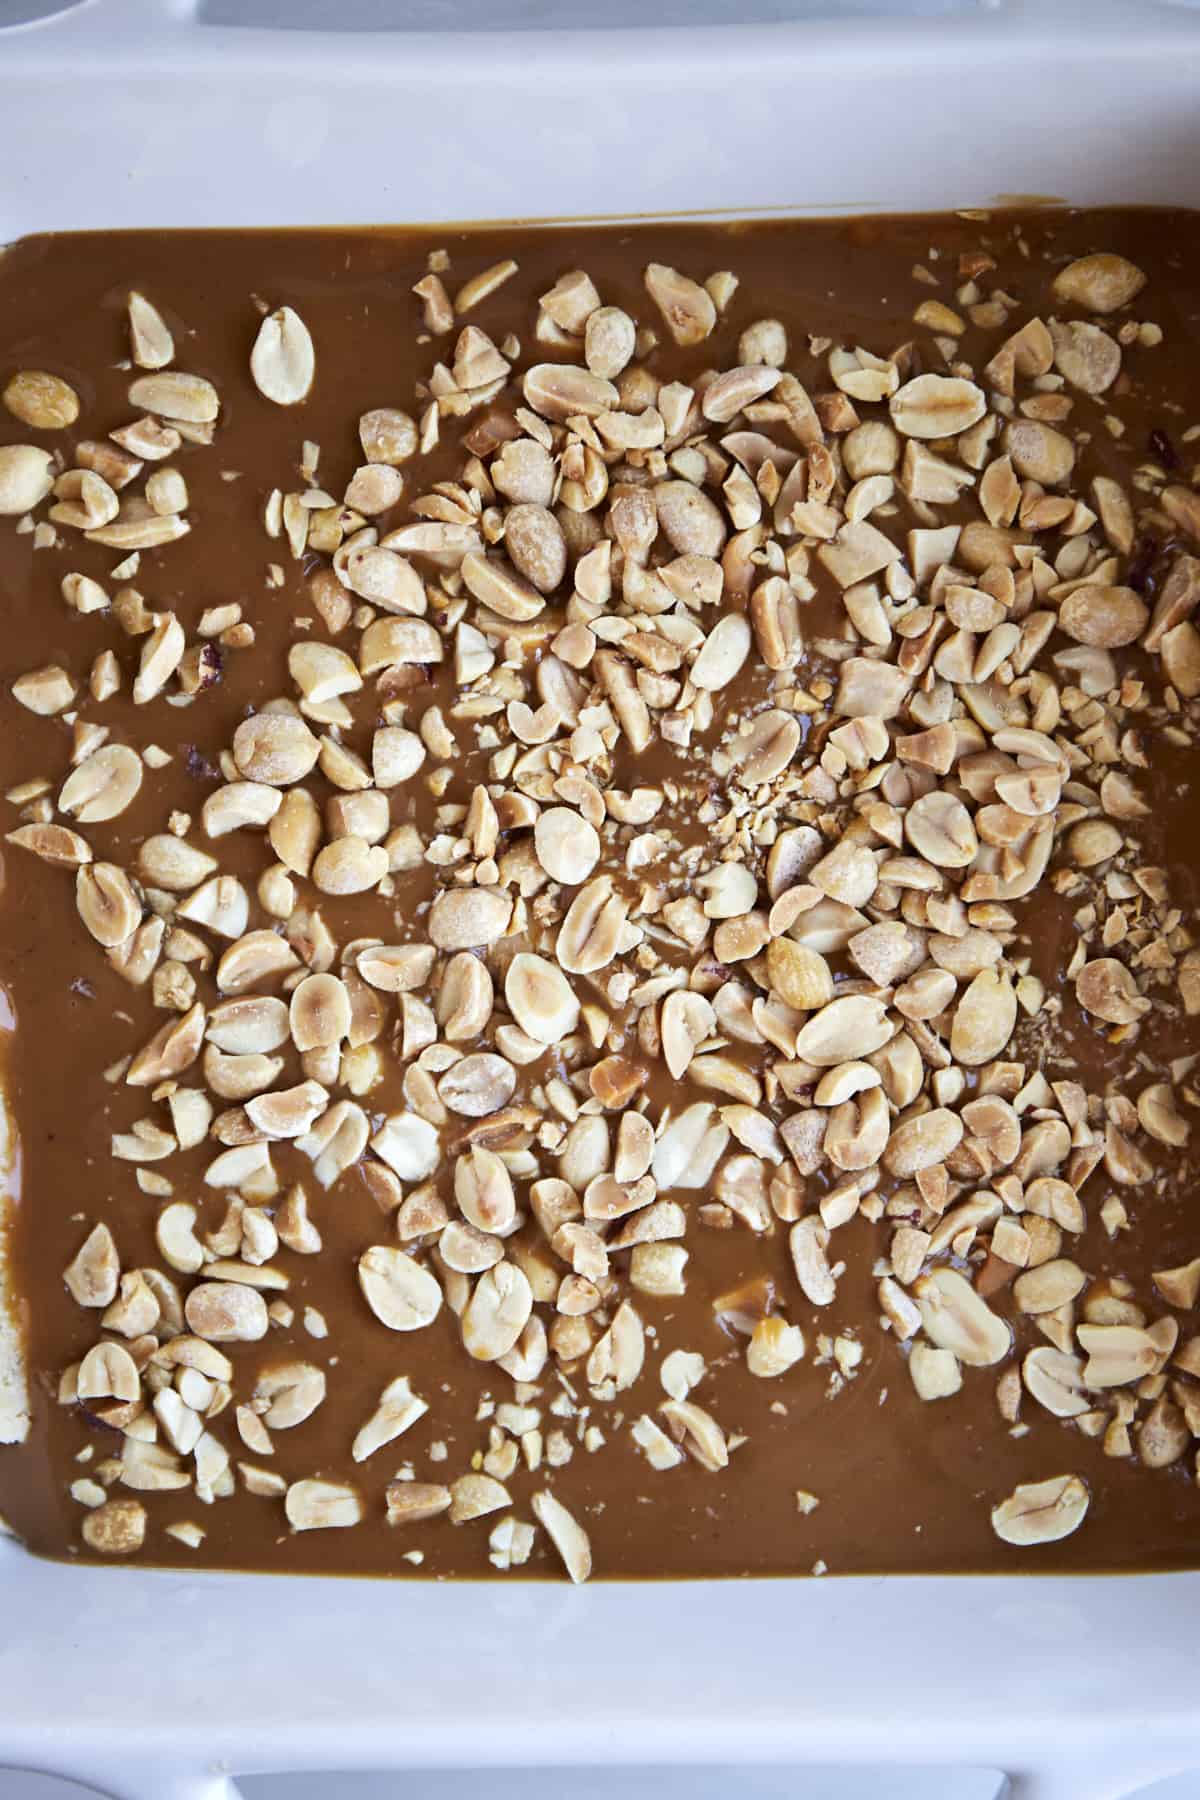
- Layer. Sprinkle chopped peanuts over the cookie base.
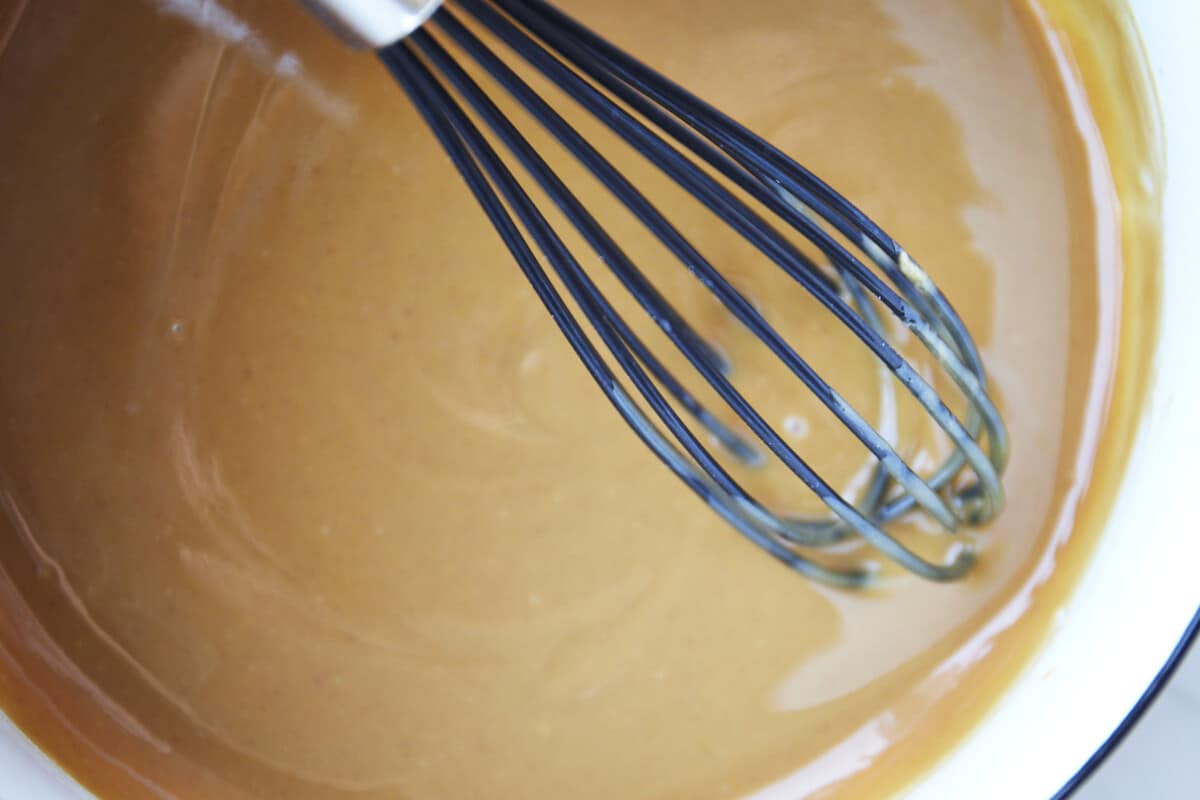
- Prepare the filling. Combine the peanut butter, maple syrup, and coconut oil in a medium saucepan over medium-low heat. Warm just until the mixture begins to bubble gently, stirring frequently. Then, remove it from the heat, and pour it evenly over the peanuts and shortbread.
- Chill. Place the pan in the refrigerator to chill and set. Or, if you’re a bit impatient, transfer it to the freezer instead.
- Melt the chocolate topping. Combine the chocolate chips and coconut oil in a microwave-safe bowl. Melt, stirring in between each heating interval until the chocolate is smooth and combined. You can also do this in a saucepan over medium heat if preferred.
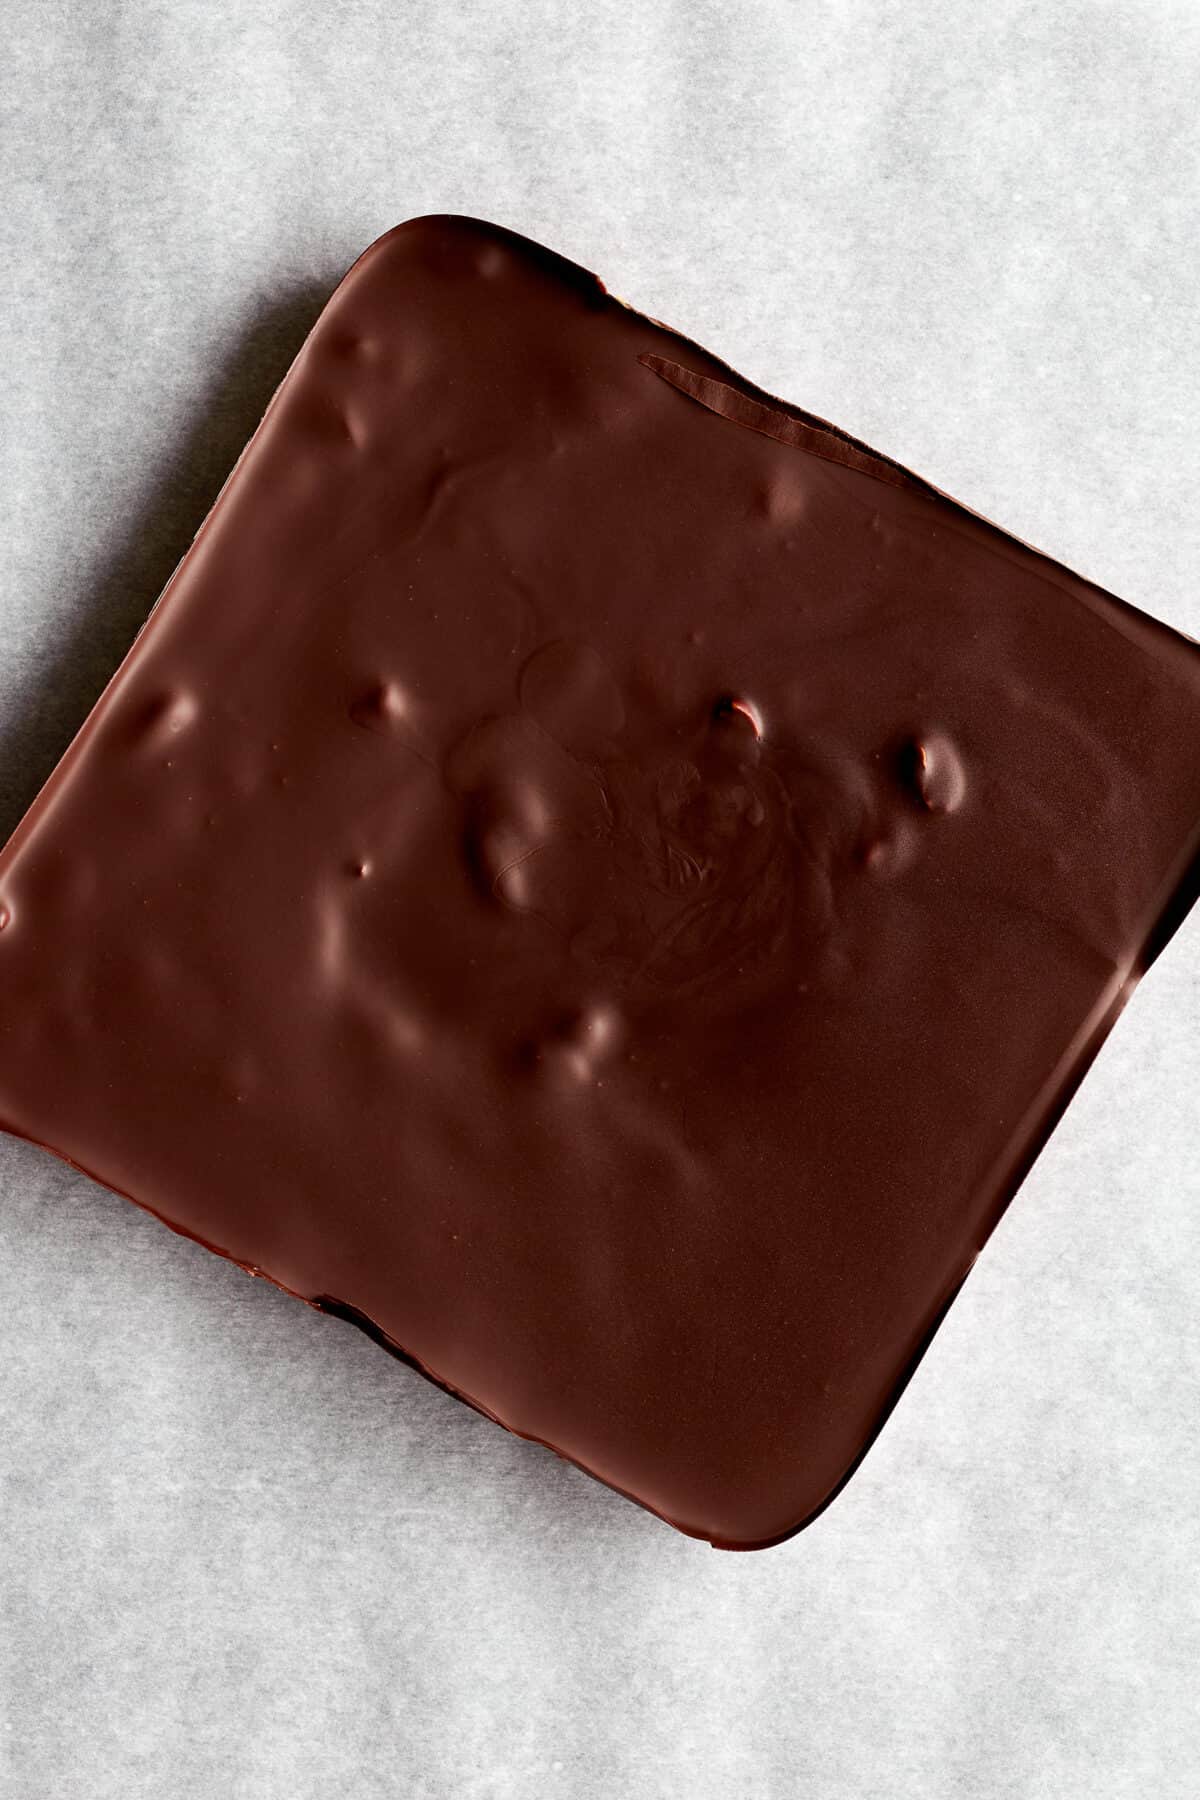
- Top. Pour the chocolate over the chocolate peanut butter bars, tilting the pan from side to side to ensure it spreads out and coats the bars evenly.
- Set. Return the bars to the fridge to chill and set completely.
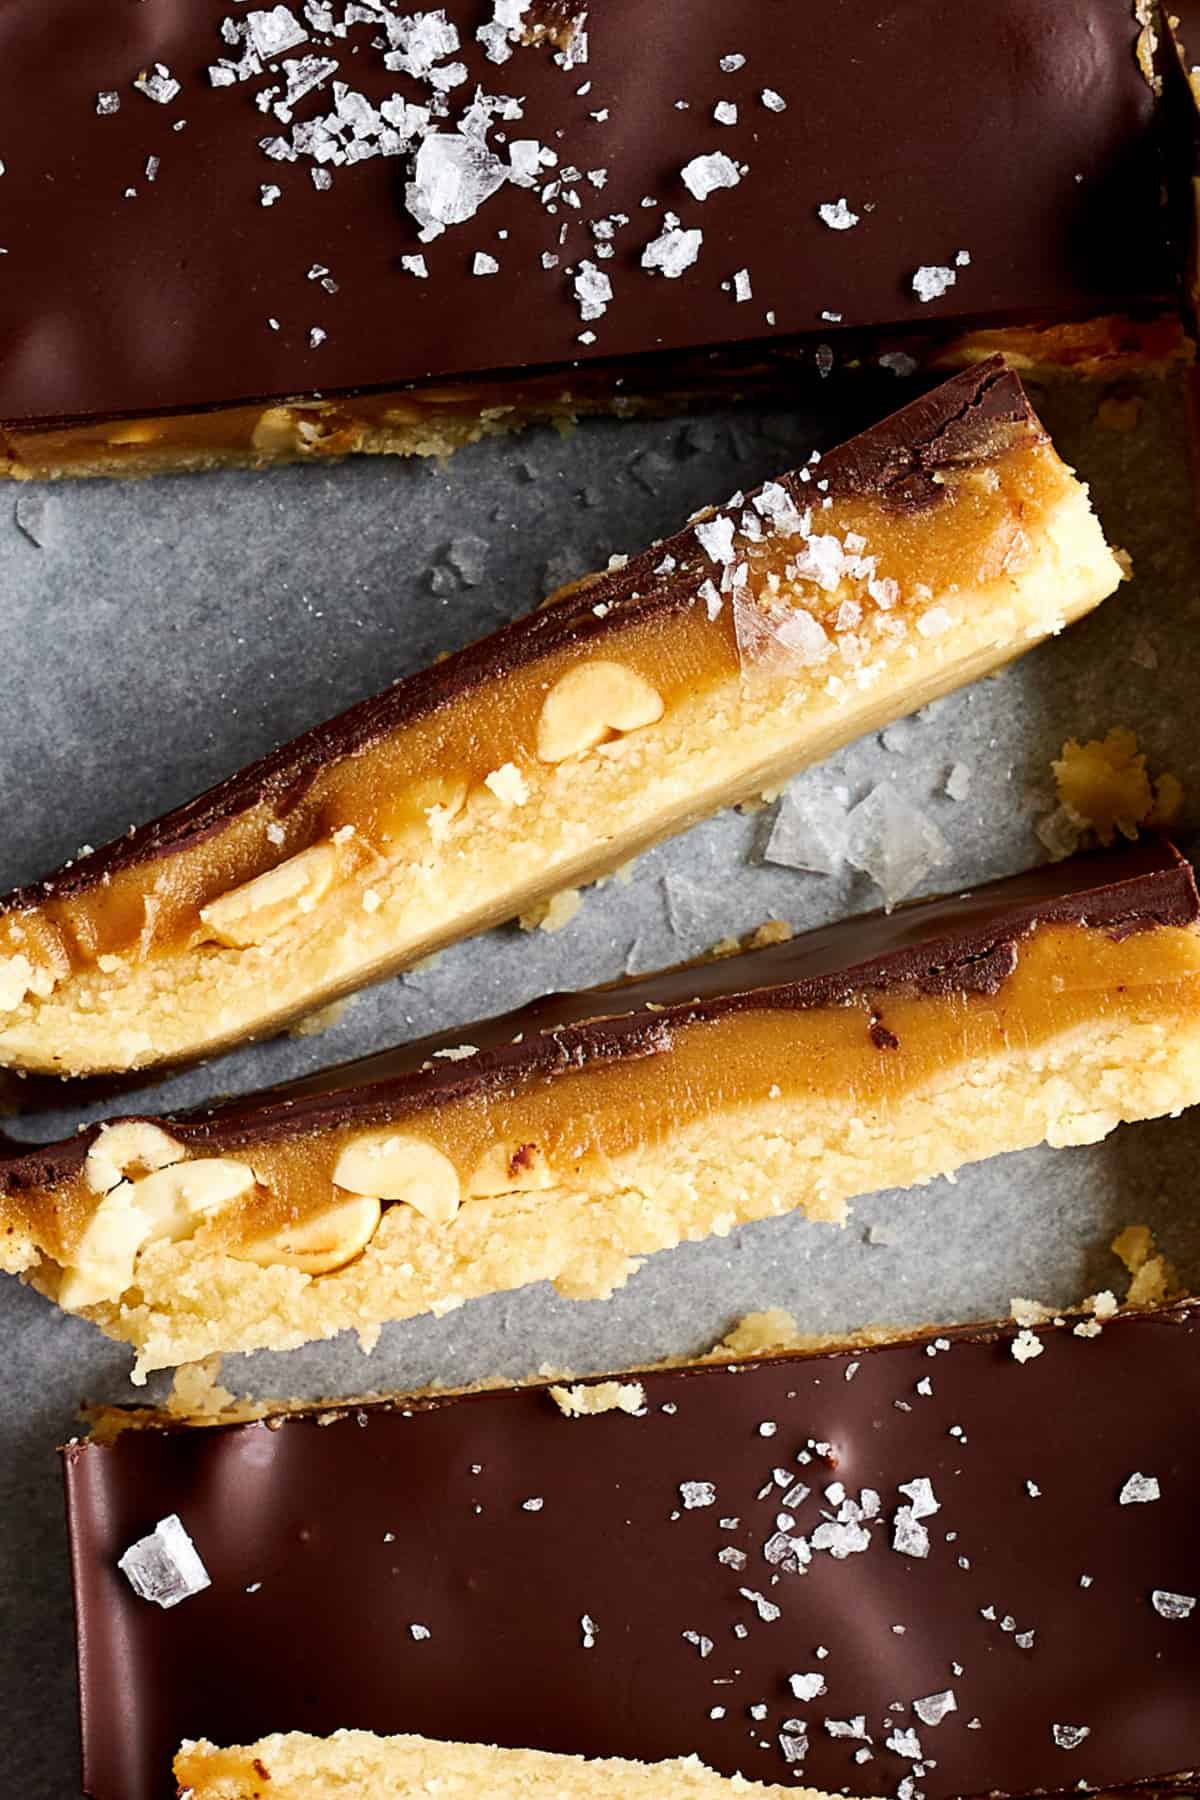
- Slice. Use a sharp knife to slice the slab into sixteen homemade healthy Snickers bars.
Tips and Tricks
- Use the right-sized pan. An 8×8 square pan is key to creating thick bars with flavorful layers that hold together.
- Create a strong base. Be sure to blend the base ingredients well, eliminating any lumps. Then, press it down really firmly before baking. Otherwise, it is likely to crumble, and your bars will fall apart!
- Plan ahead. This recipe is easy but does take some planning. Be sure to allow plenty of time for each layer to chill and set so the bars have a rich flavor and even layers.
- Use a sharp knife. When it comes to slicing the bars cleanly, you want to use a sharp knife. Wipe it clean between each slice, and run it under water as needed.
Common Questions About This Homemade Chocolate Peanut Butter Bars Recipe
Stored in an airtight container in the fridge, leftover bars will stay fresh for about one week.
Yes, place your homemade Snickers in a freezer-safe container with a sheet of
Traditional Snickers are made with a nougat filling of egg whites, sugar, and vanilla.
More Homemade Treat Recipes
If you have a sweet tooth like us, but don’t want to buy your treats from the store, these easy recipes are just what you need in your life!
- Hazelnut Chocolate Crock Pot Candy
- Slow Cooker Candy
- Chocolate Peanut Butter Rice Krispie Treats
- Slow Cooker Chocolate Covered Pretzels
- Chocolate Chip Caramel Bars (Carmelitas)
Chocolate Peanut Butter Bars (Homemade Snickers)
Ingredients
For the Shortbread Base:
- 1 1/2 cups of finely ground blanched almond flour We prefer Bob’s Red Mill
- 3 Tablespoons melted and cooled coconut oil
- 3 Tablespoons pure maple syrup
- 1 teaspoon vanilla extract
- A pinch of salt
For the Peanut Butter Layer:
- 3/4 cup roasted salted peanuts roughly chopped
- 3/4 cup creamy peanut butter
- 1/3 cup pure maple syrup
- 1/4 cup coconut oil
- 1 teaspoon vanilla extract
- A dash of sea salt
For the Chocolate Layer:
- 3/4 cup dairy-free/vegan chocolate chips
- 1 Tablespoon coconut oil
Instructions
- Begin by preheating the oven to 350 degrees Fahrenheit. Line an 8×8 inch square baking pan with parchment paper. Make sure to use this specific pan size for best results.
- In a medium-sized bowl, combine the almond flour, cooled coconut oil, maple syrup, vanilla extract, and a touch of salt. Stir the ingredients together until they form a satisfyingly thick, crumbly texture.1 1/2 cups of finely ground blanched almond flour, 3 Tablespoons melted and cooled coconut oil, 3 Tablespoons pure maple syrup, 1 teaspoon vanilla extract, A pinch of salt
- Transfer this mixture into the prepared pan, then use fingertips to evenly press it down, forming a solid base. Place it in the oven, and bake for 8-10 minutes. Allow the crust to cool for about 10 minutes before moving on to the next step.
- As the crust is cooling, evenly sprinkle the chopped roasted salted peanuts over it.3/4 cup roasted salted peanuts
- While the crust is in the oven, let’s create the delectable peanut butter caramel layer. In a medium saucepan over medium-low heat, combine the peanut butter, maple syrup, coconut oil, vanilla extract, and a touch of sea salt. Heat the mixture for approximately 2 minutes, just until it begins to gently bubble, stirring frequently. Remove it from the heat, and pour it evenly over the layer of peanuts and the slightly cooled crust.3/4 cup creamy peanut butter, 1/3 cup pure maple syrup, 1/4 cup coconut oil, 1 teaspoon vanilla extract, A dash of sea salt
- Place the pan in the refrigerator for 30-60 minutes to allow the peanut butter layer to firm up. Or, expedite the process by popping it into the freezer for 15-20 minutes.
- After the chilling period, it’s time to craft the luxurious chocolate layer. In a microwave-safe bowl, combine the chocolate chips and coconut oil. Microwave in 30-second increments, stirring in between until the chocolate is completely melted. Alternatively, use a small saucepan over low heat to melt the chocolate and coconut oil.3/4 cup dairy-free/vegan chocolate chips, 1 Tablespoon coconut oil
- Pour the luscious melted chocolate evenly over the caramel layer. Tilt the pan from side to side to ensure the chocolate spreads out evenly.
- Return the pan to the refrigerator for at least 1 hour to allow the chocolate to solidify and the bars to cool completely.
- Once everything is set, remove the bars from the pan, and cut them into 16 bars. To do this, slice the entire bar slab in half, then cut each half into 8 bars measuring about 1 inch in width (not squares!). This will yield a total of 16 bars.
- Enjoy the homemade bars! Keep them covered in the refrigerator until ready to savor them.
Equipment
Notes
Would you like to save this? 🔖
Nutrition
Nutrition information is automatically calculated, so should only be used as an approximation.


Thank you for the recipe, beautiful gals. I can’t wait to try them.
Happy Easter!
We hope you enjoy! Happy Easter, Nancy! 😊
Xo,
Alia & Radwa
The bars are delicious but not sure about the 8 x 8 pan. In my pan the bottom layer (almond flour) was way too thick compared to the other two layers.
Next time I will try a 9 x 9 pan
Thank you for the feedback, Mark. We’d love to know what you think if you try a 9×9 pan!
Xo,
Alia & Radwa
Is there a suitable substitute for coconut oil? My husband is allergic
You could use butter or avocado oil. We hope you enjoy!
Xo,
Alia & Radwa
Can you clarify for me when the peanuts are added:
the written recipe states the peanuts are sprinkled ‘ on the crust’ while it cools (STEP 4)
but your video shows you adding the peanuts on top of the PB layer.
THANK YOU 😊
Sorry for the confusion! The written recipe is updated from the video and the correct version.
Xo,
Alia & Radwa
So very delicious, thank you!!! 5+ stars from me. It was a big hit with family.
Thank you so much, Camille! We’re so glad you enjoyed it! 😊
Xo,
Alia & Radwa
Yummy!
The flavours were great, this was easy to make and the instructions clear.
Unfortunately the 1st and 2nd layers didn’t adhere well, I think maybe if I had the peanuts chunkier then perhaps the peanut layer would adhere better to the crumb base. It just seemed like too much crushed peanuts to allow the layers to attach well. I’ll have to play around with this.
We’re sorry to hear the layers didn’t stick, Brooke, but are so glad you enjoyed the recipe. You may want to add more peanut butter. We’d love to know how it goes if you try it out again!
Xo,
Alia & Radwa
I’m midway through making this fantastic looking recipe. When I looked at it before pouring the peanut butter mixture I thought maybe I had too many chopped nuts. I took some off and added the peanut butter mixture. It’s cooling as I type. I’m wondering if I may have misunderstood the recipe.
Does the measurement for chopped nuts 3/4 cup mean before or after they are chopped ?
I’m hoping this turns out right. It looks delicious as is. This is for tonight so I still have time for everything to cool and the chocolate topping put on.
Hi! Before they’re chopped! Apologies for any confusion. We hope it still turned out well for you!
Xo,
Alia & Radwa
Omg!!!!! these were amazing. such a treat the kids loved them. Will definitely make again.😊
Yay! Thank you, Christine! We’re so happy to hear this. 😊
Xo,
Alia & Radwa
Can all natural peanut butter be used in this recipe?
Thank you.
Hi, Sonya! We don’t recommend it as they tend to separate and can cause the bars to become oily.
We hope you enjoy!
Xo,
Alia & Radwa
Hi, I just made this recipe for a special occasion yesterday. I read one post on how the layers didn’t stick together and got worried.
Is the 3/4 cup nuts measured before chopping ? I did 3/4 cup chopped and it was a lot of nuts.
I ended up taking some of the nuts off before adding the peanut butter mixture thinking that might cause the layers to not melt together and it was a good decision.
These came out fabulous !! Huge, huge hit.
We’re so glad it still turned out well for you! Thank you for letting us know!
Xo,
Alia & Radwa
Hi Food dolls! I made this and it was a success! I am craving for healthy chocolate treat for myself and this is the perfect recipe. I used dark choco chips and follow the rest. More power to your blogs!
Thank you, Ellaine! We’re so glad you enjoyed the recipe! 😊
Xo,
Alia & Radwa
It tastes fantastic! Greetings from Sweden 🙂
Thank you so much, Elena! 😊
Xo,
Alia & Radwa
These look delish!
Thank you, Erin!
Xo,
Alia & Radwa
I made these again but something didn’t work…nothing crumbled but the chocolate layer pops right off the shortbread layer? What do you think I didn’t wrong? Did I leave it to set in the fridge for too long before adding the chocolate? (I added the chocolate layer the next morning). Thanks
I made these keto, swapped out maple syrup for sugar free maple syrup and the chocolate chips , for sugar free chips, very good and easy, love your recipes
We’re so glad you were able to make them work for you and enjoyed the recipe, Dixie! Thank you for trying them out and taking the time to leave feedback. 😊
Xo,
Alia & Radwa
Do you use unrefined or refined coconut oil???
Either will work! We recommend refined, because it has a milder flavor.
We hope you enjoy!
Xo,
Alia & Radwa
I’ll give you 5 stars rate for it, even though I didn’t make it yet, but it’s on my list 😉
Can I ask you what benefits you have from having your own website?
Katrin
Thank you, Katrin! We hope you enjoy it!
Our website allows us to post free recipes for everyone to enjoy.
Xo,
Alia & Radwa
What can I substitute for almond flour, hubby extremely allergic?
You could try cassava flour!
Xo,
Alia & Radwa
I made these yesterday. Sprinkled some Maldon on half of the pan after I poured the melted chocolate. I think that half is my favourite. 🥰
We’re so glad you enjoyed them, Thelma! 😊
Xo,
Alia & Radwa
This is currently cooling in my fridge and I’m ready to melt the chocolate layer. Question…your photo shows some Maldon sprinkled on top. Do you do that once the chocolate layer has semi-hardened? Or immediately after pouring the chocolate layer? Thanks!
We wait until it’s semi-hardened, but you can add it at any time. We hope you enjoy!
Xo,
Alia & Radwa
is there another option for the coconut oil? I am allergic to coconut.
Butter or ghee would work!
Xo,
Alia & Radwa
How can I make this using Almonds instead of Peanuts?
Sure! The flavor will be slightly different but still really tasty.
Xo,
Alia & Radwa
Made these today & they’re scrumptious! The best part was that I had all the ingredients on hand 🙌🏾 Easy to make & a perfect gift to give others. Thank you for sharing, Alia & Radwa!
Thank you so much I think I’m going to love these I know my grand kids will thank you again
We hope you enjoy, Linda!
Xo,
Alia & Radwa